Showing posts with label How To's and DIY Projects. Show all posts

Thursday, March 29, 2012

Project Reveal: Jordyn's Bedroom

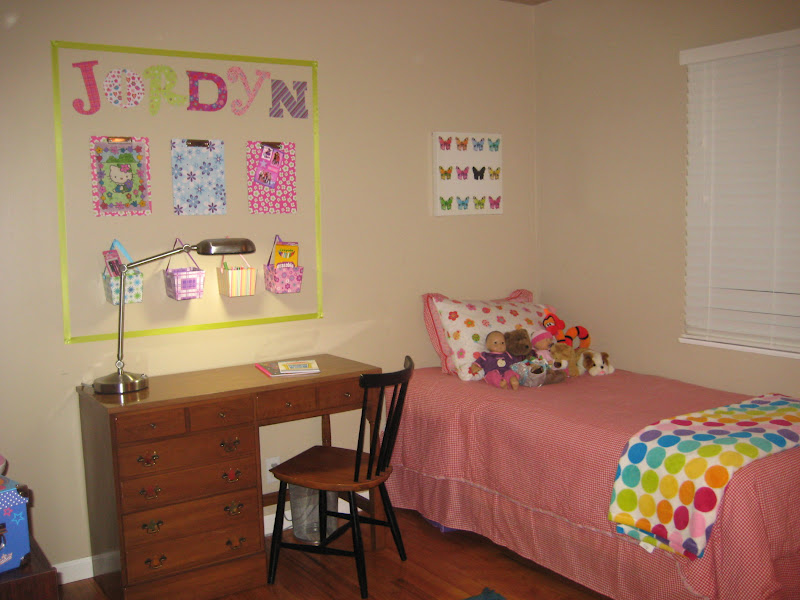
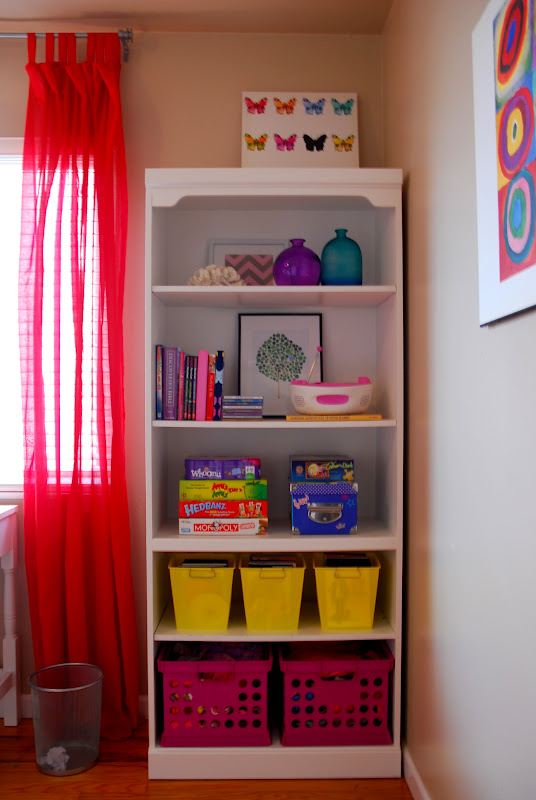
I've been slowly putting the finishing touches on my stepdaughter Jordyn's bedroom for quite some time now and have been sharing bits and pieces of it with you along the way. You might remember the bookcase I painted, the nailhead inspiration board I made, the desk makeover, the DIY headboard, etc. Anyhow, I finally got around to tackling her dresser (another brown wooden beast that got a coat of glossy white paint) which completed my list of things to do in her bedroom. Jordyn will be turning 11 in about a month and I'm ecstatic to finally be done with her bedroom. I think it turned out to be a fun and girly space without being too juvenile or too sophisticated.

Just for kicks, here are some pictures of what the room used to look like;


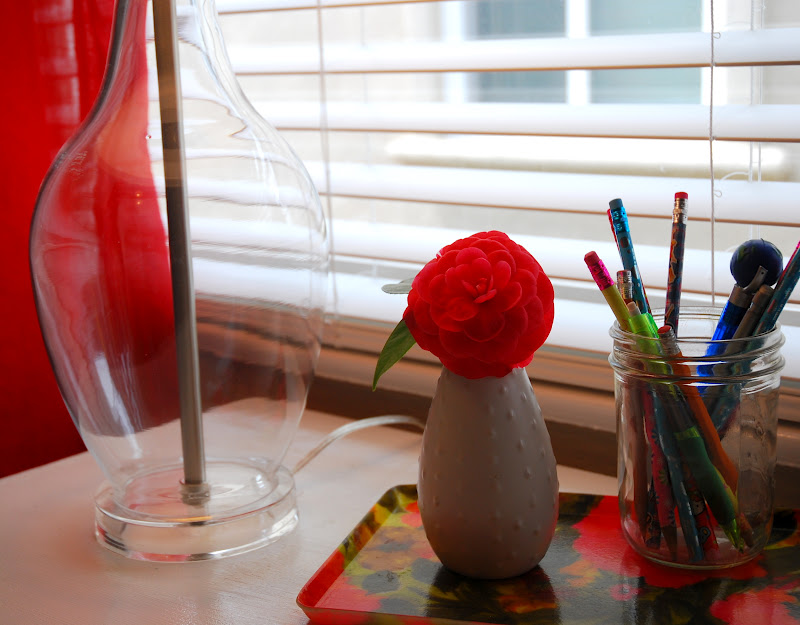
Two years later, a whole lotta white paint, some fun fabric and a couple DIY projects later, this is what the room looks like now;


So what do you think? I love the way everything turned out and am happy with the cheery, colorful space! I think it's perfect for the outgoing 11 year old and she seems to be pretty pleased with her new room. Another happy client! ;)

Wednesday, January 25, 2012

Wedding Wednesday: The Favors

Yes, it's the end of January and yes there are still some details from my October wedding that I haven't gotten around to sharing with you yet. . . Like the DIY wedding favors!

I searched high and low for something unique to give our wedding guests to take home with them. I wanted it to be something I could make myself and wouldn't cost a lot of money. (We were trying to stick to a tight budget, remember?!) I also liked the idea of something that could be used again and again, not something cheesy that guests would throw in the trash after the wedding. I stumbled upon this tile coaster idea and fell in love!

 via The Cottage Home

I was obsessed with the idea of giving our guests something handmade that they could use in their own home. I thought these tile coasters were not only adorable but would be pretty simple to make and fit the bill perfectly! Here's what my supply list looked like:

- 200 tile coasters purchased from Habitat for Humanity
- Book of colorful scrapbook paper 
- 2 bottles of Mod Podge 
- Several foam brushes
- 2 yards of black felt (for the backs so that the tiles don't scratch furniture surfaces)
- Fabric glue
- Clear acrylic spray paint


I rounded up a couple of girls to help me on a Saturday back in July and we went to town making tile coasters. I precut all of the scrapbook paper and black felt in order for us to set up one giant assembly line. It took all afternoon and evening but at the end of the day we had made enough coasters for each guest to take two home with them. I tied them together using hemp twine and placed a sticker on the back thanking guest for sharing our special day with us. 
 

At the wedding we placed a set of coasters at each place setting. I love how all the bight and bold patterns looked against the rustic burlap table runners.


I can't tell you how excited I get when we visit friends or family and see OUR wedding coasters sitting out on their coffee tables or side tables in their living rooms! 

To see the tutorial that I followed to make these awesome coasters, go here!


Tuesday, November 29, 2011

Desk Reveal

The chair that I ordered for my step daughter's bedroom way back in September finally arrived!


If you recall I have been slowly but surely redoing her bedroom, one ugly piece of furniture at a time. My latest project was her desk. Take a look at the before picture;


Ugh! This hand-me-down desk and chair came from my inlaws and had been screaming for a makeover for the longest time. I debated back and forth about painting it a fun and bright color, but in the end I decided to go with white. (It's timeless and will grow with her from being a ten year old and into her teens.)  I sanded, primed and painted the piece and added new hardware and WOW what a difference!


I don't think I'll ever get tired of seeing the transformation that takes place when you paint and revamp an otherwise dated and unattractive looking piece of furniture and turn it into something updated and chic! It's such a gratifying feeling.


So what do you think? Pretty drastic, right?! I love the way it turned out. Originally I had planned on finding cutesy, decorative hardware but the desk required 12 and I couldn't find anything budget friendly. I decided to go with these simple brushed nickle knobs that were only 90 cents a piece and I'm glad I did. They look perfect on the desk and coordinate with the other metal finishes in the room (like the chair, waste basket, etc.)


 Here's one more shot of the new and improved desk;


To see more on Jordyn's bedroom makeover go here, here or here. Next on the to-do list, a custom headboard and bedskirt. . .


Friday, July 29, 2011

Adirondack Chair Makeover

Earlier this summer I started transforming my patio into an outdoor living area. (You might remember this post or this post.) I can't believe it took me two years of living in this house to realize how awesome it would be to have a little living room outside! Lately, I think I spend more time out there than I do sitting in my actual living room. I'm still tweaking things here and there, and have a couple small project to complete before I can show you the entire space. But I thought I would share one project I recently completed on the patio.

My mom gave me a adirondack chair that had been sitting outside, unfinished for a couple years. It was worn and weather and splintering beyond belief. I decided a bright cherry red coat of paint was just what this chair needed to bring it back to life!

Here's what the chair looked like after sanding it down to the bare wood:

(Unfortunately I forgot to take a picture of the crappy condition it was in before sanding. It was pretty bad, you couldn't actually sit in the chair for fear of splinters!)

I used an indoor/outdoor oil based primer (that was tinted gray) and a disposable paint brush to apply the first coat. (Oil based primers are pretty yucky and ruin your painting tools!) I let the first coat dry for about two hours and then came back and did a second coat.

Here's what the chair looked like after two coats of primer. I let the second coat of primer dry over night and came back the next day, ready to paint!

Ooh-la-la, I love this color red! It's actually called just that - Benjamin Moore 'Red'.

Isn't she pretty?! I applied the first coat of paint, let it dry for about two hours and then came back and applied the second coat. I am still trying to decide how I should finish/seal it. I've never painted outdoor furniture myself before, so I need to do a little research and find the best way to ensure that this baby stays glossy and pretty for the long haul.

Of course I couldn't resist snapping a few pictures this morning of my new chair in it's place, next to the mosaic table I made a while back and my surfboard!


Have you completed any DIY projects lately? Painted any outdoor furniture? Please share!

Friday, June 24, 2011

High Style, Low Cost Ideas with Design Manifest!

Today Naomi from the blog Design Manifest is here to share a cheap and chic lil project with you. I'm a huge fan of Naomi's blog. . . her style is so unique and inspiring! I love reading her posts, there is always something fresh and new that I have never seen before. So you can only imagine how excited I was that she agreed to stop by today!!


-----------------

Hi everyone, I'm so happy to be over here sharing a little makeover. I used to consider myself incredibly un-handy. Drilling, hanging, recovering felt overwhelming and out of my realm. But little by little I've tackled small projects and gained confidence. If I can do this stuff, anyone can!
 
Last year I found these great stools from JC Penney. They were inexpensive and I loved the faux bamboo look, so I scooped up two of them. I knew I could simply screw off the top and spray paint the base. The shape of the cushion seemed easy enough to recover too.


I love stools because they can be used anywhere and are such an easy way to infuse personality into a space. You can go a little bolder because they are small. Plus the look is easy to change out. I opted to give them a bit of oomp by spray painting the bases fire engine red.


And then I recovered the tops in a pretty Balinese fabric my Mom had leftover.


They instantly felt more exotic and custom to me. Whenever I see them, they bring a smile to my face.


8 months later, I've moved and the decor of my new place is heading in a whole different direction. So I'm actually planning to change up the base and fabric on top. In a way it makes me sad to lose this pair, but I can always change it back if I want. Plus I'll always have the pictures!

So Cindy Crawford Stools VS My Stools... who wins in a boxing match?


** These particular stools are no longer available, but I wanted to point out that this could be done with any piece. Just find a stool with an interesting shape, add a bold color and a new fabric that makes you happy and boom amazing new stools for you!

Thanks so much for having me over, Mary! It was fun to share.

xo,
Naomi
-----------------

Did you know that Naomi is lucky enough to work as a father-daughter team with her dad, designing and renovating houses?! She's also pretty talented in the Ikea-hacking department if you ask me! Check this out:


And here's what the finished Ikea Rast cabinets looks like in her home;


I told ya the girl was brilliant! Happy Friday, everyone! :)

 

Monday, June 20, 2011

DIY Nailhead Inspiration Board


via Suzie, Decorpad


I was inspired by these inspiration boards to create one of my own over the weekend! Since I am in the process of making over my (soon-to-be) step daughters bedroom, I thought it would be great for her to have a place to pin up things that inspire her. When I was her age (ten years old) I had a bulletin board in my room and LOVED having a place to put all those little special things.

I used an old bulletin board I had that measured 24 x 36.


I purchased 1 yard of linen fabric from Joann's for $4.99 and several packages of silver decorative nailheads.


I ironed the fabric to get all the wrinkles out, then stapled it to the front of the bulletin board. Here's a view of the back after I finished stapling;


Next up, the fun part! This step took the longest, as I can sometimes be a perfectionist. . .


An hour later it looked like this;


Here's what the completed board looks like hung over the dresser in Jordyn's bedroom;


I think I will leave it up to her to fill it up with whatever she wishes.

This project was so easy. It cost somewhere around $10 to complete and I think it turned out super cute!
Related Posts with Thumbnails