Showing posts with label Our Wedding. Show all posts

Wednesday, January 25, 2012

Wedding Wednesday: The Favors

Yes, it's the end of January and yes there are still some details from my October wedding that I haven't gotten around to sharing with you yet. . . Like the DIY wedding favors!

I searched high and low for something unique to give our wedding guests to take home with them. I wanted it to be something I could make myself and wouldn't cost a lot of money. (We were trying to stick to a tight budget, remember?!) I also liked the idea of something that could be used again and again, not something cheesy that guests would throw in the trash after the wedding. I stumbled upon this tile coaster idea and fell in love!

 via The Cottage Home

I was obsessed with the idea of giving our guests something handmade that they could use in their own home. I thought these tile coasters were not only adorable but would be pretty simple to make and fit the bill perfectly! Here's what my supply list looked like:

- 200 tile coasters purchased from Habitat for Humanity
- Book of colorful scrapbook paper 
- 2 bottles of Mod Podge 
- Several foam brushes
- 2 yards of black felt (for the backs so that the tiles don't scratch furniture surfaces)
- Fabric glue
- Clear acrylic spray paint


I rounded up a couple of girls to help me on a Saturday back in July and we went to town making tile coasters. I precut all of the scrapbook paper and black felt in order for us to set up one giant assembly line. It took all afternoon and evening but at the end of the day we had made enough coasters for each guest to take two home with them. I tied them together using hemp twine and placed a sticker on the back thanking guest for sharing our special day with us. 
 

At the wedding we placed a set of coasters at each place setting. I love how all the bight and bold patterns looked against the rustic burlap table runners.


I can't tell you how excited I get when we visit friends or family and see OUR wedding coasters sitting out on their coffee tables or side tables in their living rooms! 

To see the tutorial that I followed to make these awesome coasters, go here!


Wednesday, November 23, 2011

Wedding Wednesday: Thumbprint Tree

Lots of brides now days are trying to find fun and unique ideas to incorporate into their weddings. I know I sure was when I was planning mine! Instead of a traditional guest book at the wedding reception, I opted for a 'thumbprint tree'. These have gained in popularity over the last couple of years, but are still a unique spin on the old traditions of guest books or signing a picture frame mat.

This post I did over a year ago on wedding thumbprint trees is the #3 post of all time on this blog, having been viewed almost 5,000 times. Crazy! I guess these babies are popular!

There are tons of wedding thumbprint trees out there to purchase. Etsy alone has hundreds to choose from. I decided to go the cheaper DIY route and create my own! I bought a sheet of nice quality multimedia art paper from Michaels and sketched out a fun and whimsical tree. Once I got it just right, I went over the drawing using a fine tip sharpie. I customized it by drawing our initials 'engraved' in the tree trunk and drew our names and wedding date at the bottom. I found turquoise and lime green mini stamp pads from Joanns for guests to ink up their thumbs to 'leaf' a print. By the end of the night it was filled with our all 75 guests thumbprints and ready to take home to be framed!


I created a picture table that had framed wedding photos from my husband and I's families (parents, grandparents, and great-grandparents) as well as a clothesline of pictures of us growing up and throughout our relationship. I used this table for the wedding thumbprint tree. I really loved the way it all turned out. I even created a burlap banner that read 'All you need is love' and draped it across the table. (Which just so happened to be the song I walked down the aisle to!) The entire table was a great focal point and such a personal touch and I think our friends and family really liked it too!


Monday, November 21, 2011

Quicky

Do you want to know the best part about using potted orchids for table decor at your wedding? (Aside from being totally eco-friendly. . .) You get to take them home and enjoy them for months to come! Here's one of the orchids sitting on the ottoman in my living room;


Myself and several friends and family all took home the orchids that we used as centerpieces. I love that we were able to purchase these a week before the wedding (from a local farmers market for only $8 each!) and that they will last as long as they get some sun light and a little TLC.

Do you find it hard to keep orchids alive and blooming? Here's a quick tip. . . DO NOT over water them! Once every 10-14 days is typically sufficient.

Want to see my DIY orchid bouquets I made for my wedding? Go here!

Wednesday, November 9, 2011

Wedding Wednesday: The Flowers!

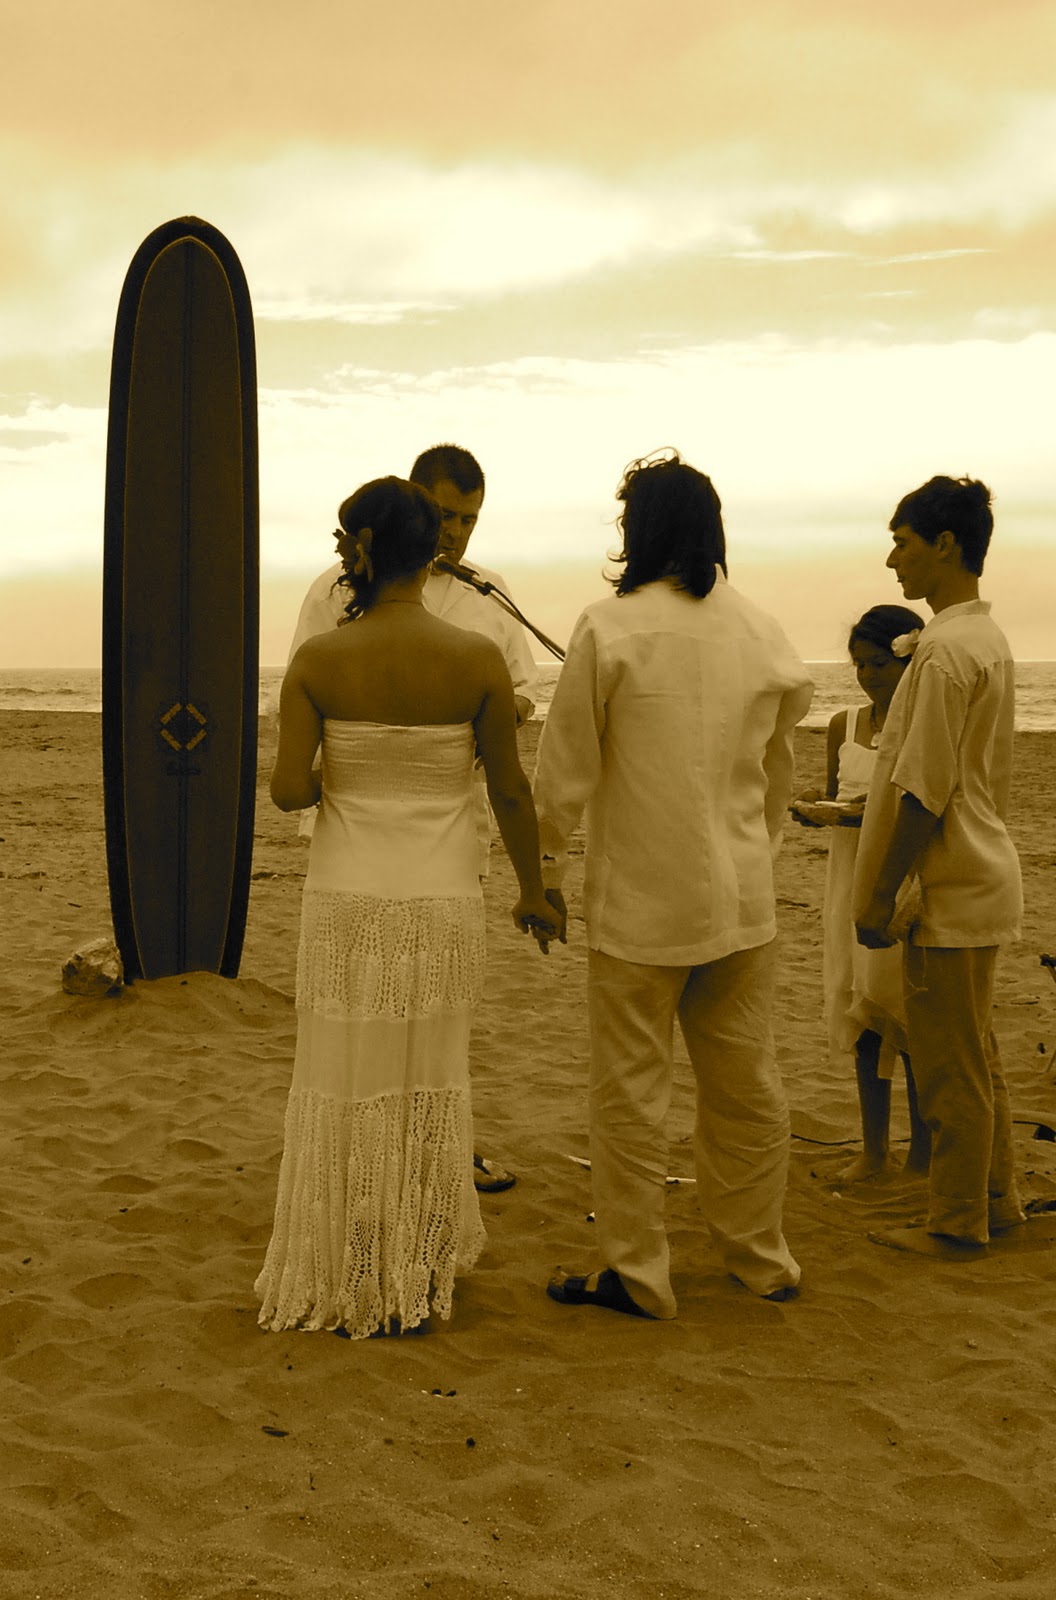
I've been dying to share all the details about the flowers from our wedding! You might remember me mentioning that I was going to take on the daunting task of creating all of the bouquets, boutonnieres & wristlets myself. (I did a trial run bouquet here and followed this tutorial here.) Although it was time consuming, everything turned out absolutely beautiful, exactly how I wanted them to look, and the best part of all. . . I saved hundreds of dollars by doing it myself!


Let's start from the beginning. . . Friday afternoon before the wedding (which took place on a Saturday) I went to Costco and pretty much wiped out the flower section! For my bouquet I purchased two dozen white roses and a large bouquet of white flowers, which I can not identify. (At the time I could care less, they were inexpensive and fit the bill!) For the bridesmaid's bouquets I purchased all of the magenta colored flowers I could get my hands on in the Costco flower section. I even asked an employee if they had more in the back and was escorted to the walk in refrigerator where I was able to pick out exactly what I wanted. (Hey, it never hurts to ask, right?!) I felt like I needed a couple more unique looking flowers for the bridesmaid bouquets so we stopped at Trader Joe's where I picked up a couple of bouquets of magenta colored dalias. I kept all of the flowers in 10 gallon buckets until I was able to start arranging them. At about 11:30 pm the night before the wedding I got started! Luckily I had a couple extra helping hands.


I also purchased 13 potted orchids from the farmers market the weekend before (for only $8 a pop!) to be used for the bouquets, boutinears and wristlets, in addition to using one orchid on each of the 9 tables at the reception. I plucked the orchid blossoms off of the plant and attached them to floral wiring using floral tape in order to give them a 'stem'. This was quite tedious and time consuming, but I was determined to have orchids in the bouquets!


To see the full tutorial on how to create your own bouquet, go here. They explain it much better than I ever could! . . . Anyhow, once I had assembled the bouquets using floral tape, I kept the stems long and left them in sitting in water over night in the 10 gallon buckets. 


We were up until 2:30am the night before the wedding getting everything done. Yes, it would have been nice to get a good nights sleep, but honestly it was a lot of fun and totally worth every penny that was saved by doing it myself.


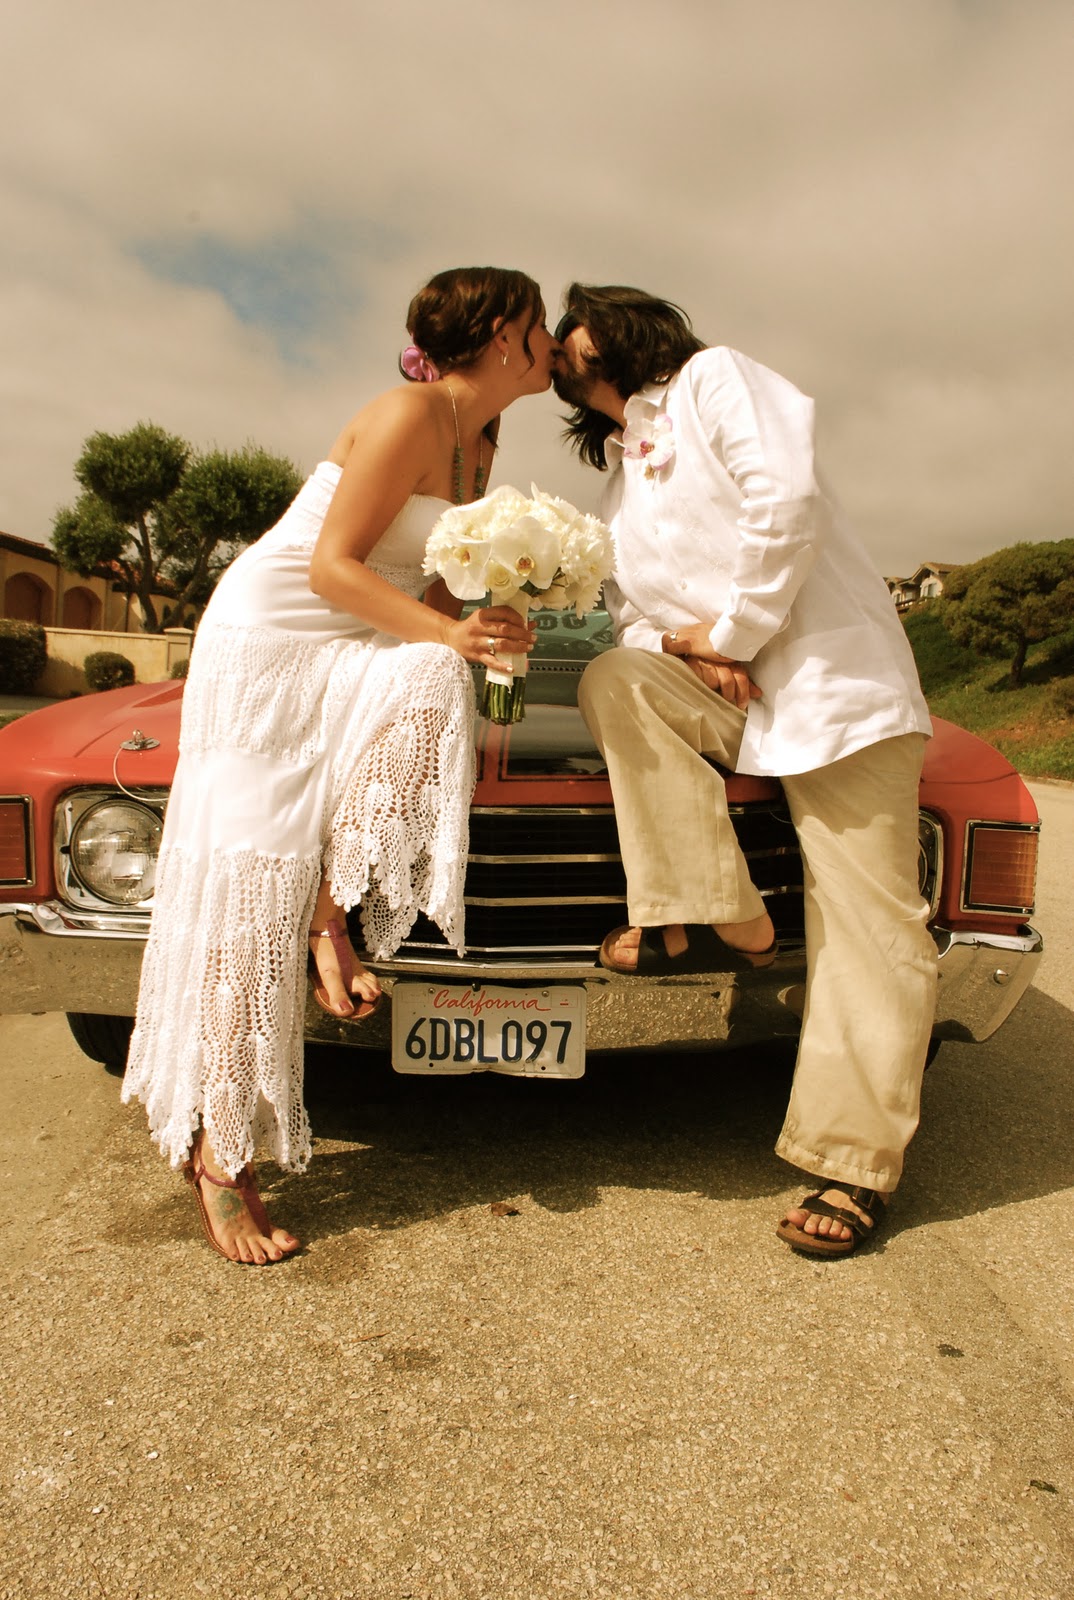
The morning of the wedding we woke up at 7:00 and wrapped the bridesmaid bouquets with burlap, secured them with pins and cut the stems. At the last second I realized I didn't have enough burlap for my bouquet but my sister saved the day by having some extra satin ribbon on hand. I actually liked the way my bouquet turned out wrapped with the white ribbon more so than if all had gone according to plan and I had used the burlap!

I created a couple extra orchids with wire stems to use in my hair, my step daughters hair and for my two nieces.


I made turquoise beaded wristlets for the mother of the bride, mother of the groom as well as for my sister-in-law. I also made boutonnieres for all the men (fathers, brothers, stepson, etc.)


The stems of the boutonnieres were also wrapped with a bit of burlap and secured with hemp twine. Out of all the flower arrangements I made, these were honestly the toughest and trickiest! The stems of the orchids were so delicate and I broke several in the process. But luckily I had extra! Everything turned out perfect and they all looked fantastic for the wedding!


Here's a few more close ups of the gorgeous flowers;


Here's the breakdown of everything I made:

(1) Brides bouquet
(3) Bridesmaid bouquets
(1) Small bouquet to toss
(6) Boutonnieres
(3) Wristlets
(5) Orchids for hair


And here's the breakdown of costs:

Floral wire, floral tape & pearl head pins - $15.00
Orchids - $32.00
Roses - $17.00
Other white flowers - $9.00
Misc. magenta flowers - $35
Dalias - $26
Turquoise beads for wristlets- $0 (I already had a ton of beads and beading supplies)
Burlap and hemp - $0 (I used what I had leftover from other wedding projects like the table runners and banners) 

Total cost: $134.00

So what do you think?! I really loved the way everything turned out and do not regret tackling this time consuming task the night before and the morning of the wedding. It's all about planning and patience. If you are willing to take on such a massive DIY project in order to save a ton of money, go for it, that's my motto! Everybody at the wedding could not believe I had made all the bouquets, which was the best compliment I think I could have received!

If you haven't done so already, make sure you enter the latest giveaway for a $75 giftcertificate from Bae Home & Design!

Wednesday, November 2, 2011

Wedding Wednesday!

Well, I've been happily married now for over two weeks. The wedding was so memorable, so perfect and so much fun! We strived to have a relaxed and casual beach wedding with a rustic and bohemian vibe and I think we achieved just that. There are thousands of pictures from the BIG day but I tried to narrow them down to just a few favorites to share with you. . . Take a peak at our wedding;


We were married Saturday, October 15th on the beach in Aptos, California. I prayed to the weather gods for six  months that we would have clear skies (and no rain) on our big day, and sure enough it was gorgeous out! The fog started to burn off and the sun peaked through the clouds just as the ceremony began. I walked down the aisle as my husbands brother played 'All You Need is Love' on the acoustic guitar. We had a short ceremony (about 10 minutes long) and a good friend of ours was the officiant. Him and I collaborated just two days before hand to put together the ceremony. It could not have been more perfect - just enough laughs and just enough tears were shed by everyone in attendance. My stepdaughter carried an abalone shell with our rings tied into it while my step son served as the best man. My two sisters (who happen to be twins) played 'rock, paper, scissors' just moments before walking down the aisle in order to determine who would be the maid of honor while my cousin (and good friend) served as the other bridesmaid.

We asked a friend to take pictures for us, and she did a phenomenal job!  Our 'getaway' vehicle was a car we borrowed from a family friend - a red, 1967 Chevy Chevelle with black racing stripes - so hot! The reception was held just 10 minutes away at the La Selva Beach Clubhouse. After searching high and low for the perfect place to hold the party, we settled on the Clubhouse because it was SO affordable and had a lot of rustic charm. We even had a fire going in the huge fireplace all night night long! I kept the decorations simple - burlap table runners, potted orchids and loose flowers in mason jars adorned the tables. We served beer, wine and sangria and for dinner we served traditional Hawaiian food that got rave reviews. We had a dessert buffet table with all sorts of cookies, pies, cakes and candies to choose from. It was seriously one great party - we danced and drank and ate all night long! It was nothing fussy nor fancy, just a lot of love and a lot of fun, which is just our style.

There are so many more details to share that I will break it down into a couple of other 'Wedding Wednesday' posts over the next couple of weeks! I hope you enjoyed the peak into what was seriously the best day ever!


Related Posts with Thumbnails